VIVED Anatomy Tutorial Series; Part 1
Thank you for joining us for our first tutorial series on the VIVED Anatomy basic tools! Be sure to stay engaged as we start releasing the video tutorials for your review. In the VIVED Anatomy Tutorial Series, Part 1, we cover the first three tools in the right side toolbar, which includes Pan, Orbit and Zoom.
Part 2 of the series will review the Callout and Landmark features, and Part 3 will discuss basic mouse uses.
Tutorial Summary
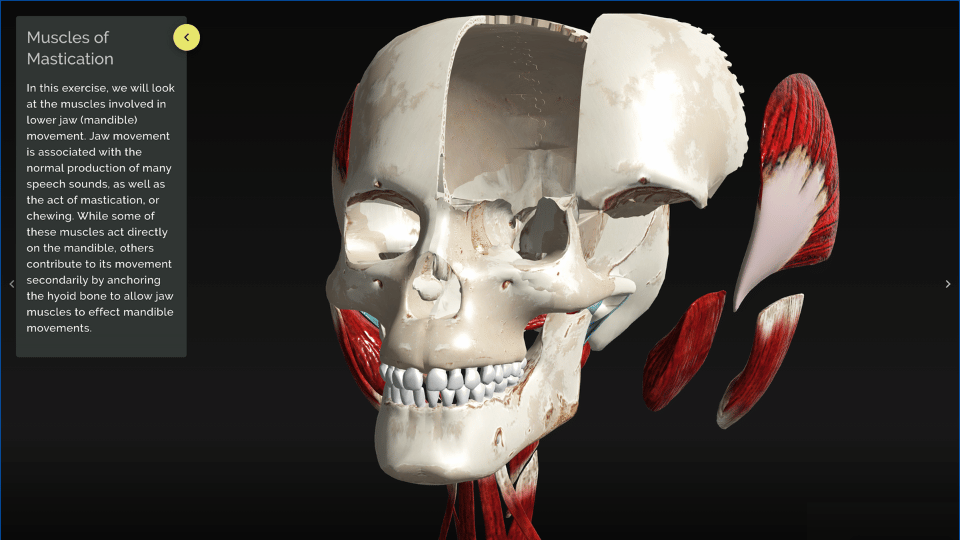
Pan: Use this tool to move a single structure or all structures to a different part of the screen by clicking and dragging. To return a structure to its original position, double click on object or move the structure towards its ghosted position. When close to its origin the outline will turn green.
Orbit: Use this tool to rotate a single structure or the all structures to a different degree or angle of view by clicking and dragging.
Zoom: Use this tool to change the distance a single structure or all the structures is/are from the camera by clicking and dragging.
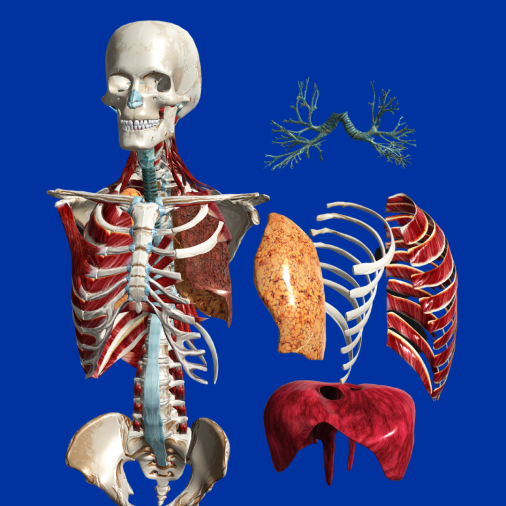
At VIVED Learning, we empower students and teachers with innovative, interactive STEM resources. Our platform contains over 1000+ fully dissectible 3D models, across STEM subjects such as Anatomy, Chemistry, Engineering, Biology and more.
Book a call with our expert team today to learn how VIVED can boost your students engagement and learning outcomes!
Like this blog? Check out our blogs on the best STEAM learning resources and study apps!